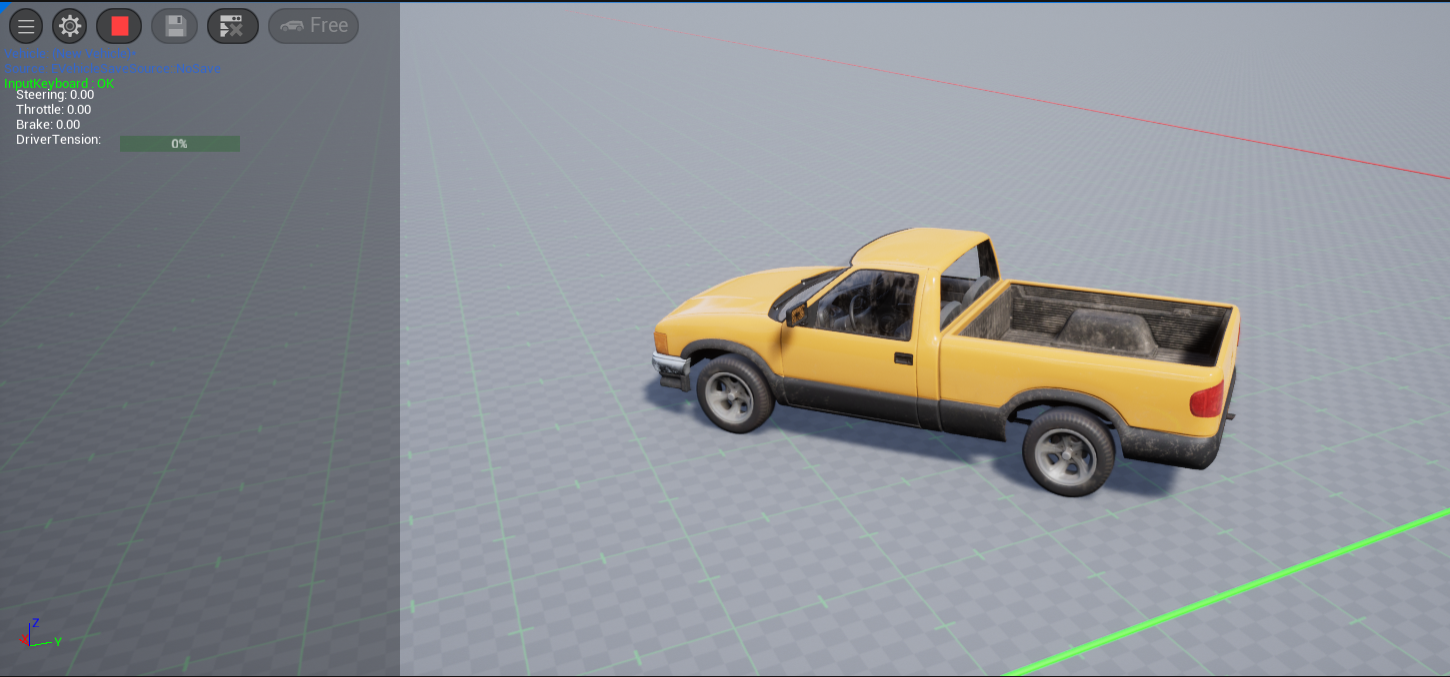
3.4. Create Blueprint Soda Vehicle
3.4.1. Before you start
Read the How to Set up Vehicles article on Unreal Engine official website.
Prepare the Skeletal Mesh of your vehicle.
Note 1: This How-To uses default Unreal Engine Chaos Vehicles. You need to modify it according your particular vehicle.
Note 2: This How-To uses free assets from the Vehicle Variety Pack Volume 2.
3.4.2. Creating a minimum viable Soda Vehicle Blueprint
Import a Vehicle Mesh, establish a Physics Asset, and formulate an Animation Blueprint incorporating the Wheel Controller node. Refer to the How to Set up Vehicles article for details. Adjust the vehicle’s physical parameters, wheels, and other related aspects as detailed in the aforementioned article.

In the Content Browser, right-click on empty space and select Blueprint Class from the Create Basic Asset category.

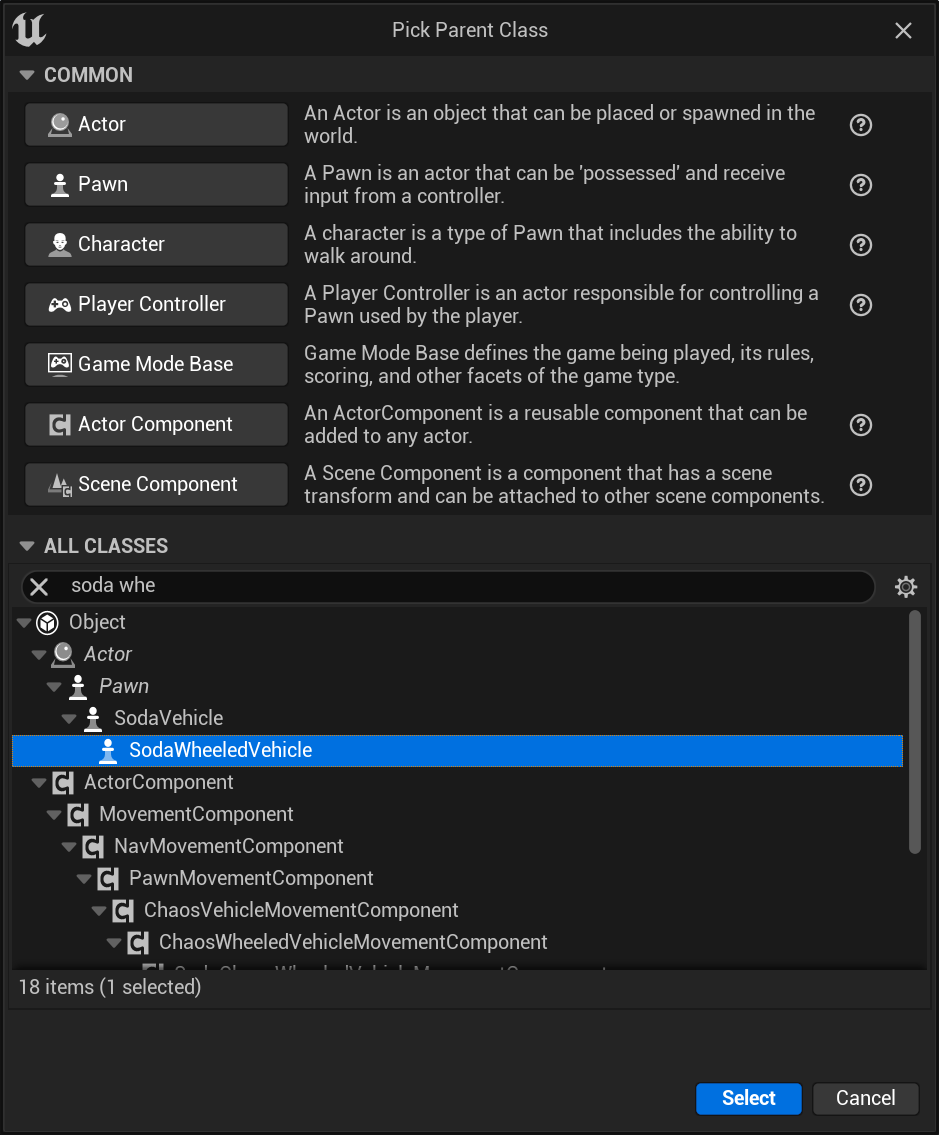
In the Pick Parent Class window, expand the All Classes section, find and select SodaWheeledVehicle. Click Select to create the new Blueprint asset.
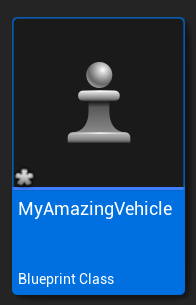
In the Content Browser, double-click the Vehicle Blueprint to open it.
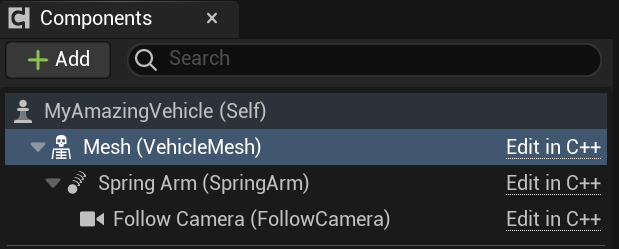
In the Components window, click the Mesh Component. Go to the Details panel and under the Mesh section click the Skeletal Mesh dropdown. Select your vehicle’s Skeletal Mesh asset.

Note: If there is no wheels in your Skeletal Mesh, skip this step. In the Details panel, scroll to the Animation section and click the Anim Class dropdown. Select your vehicle’s Animation Blueprint.

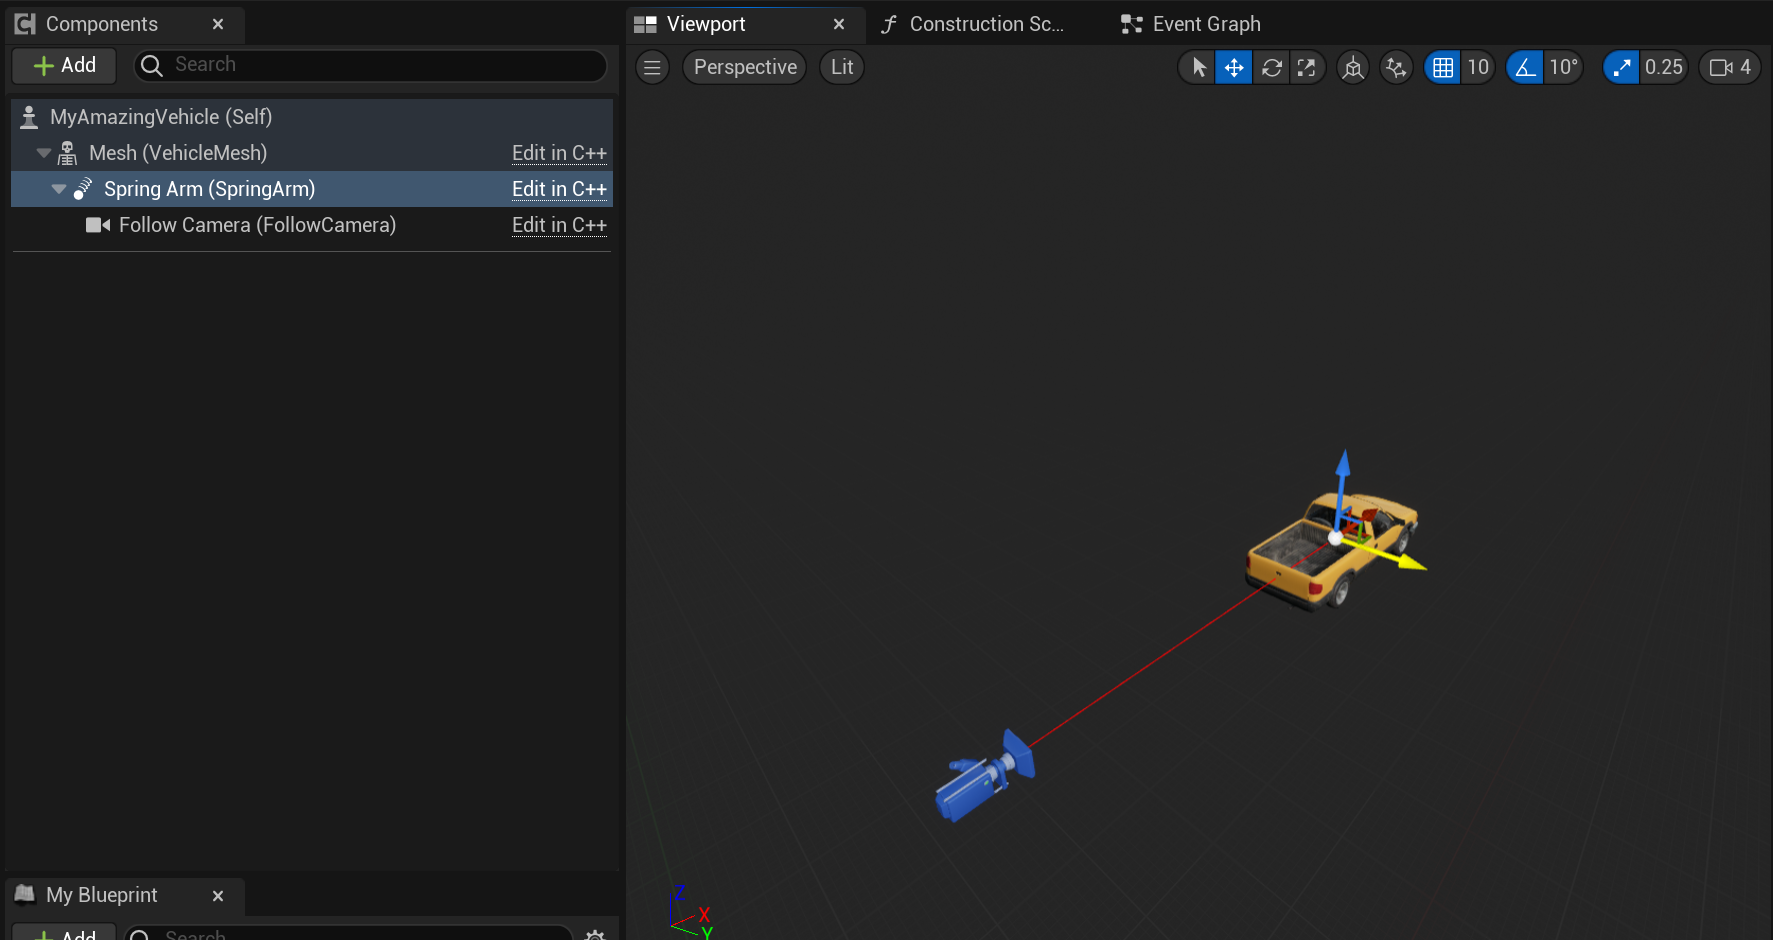
Adjust the SpringArm rotating center position
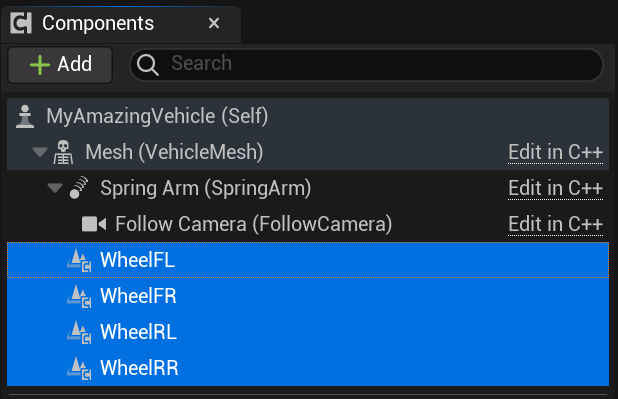
In the Components window, add four SodaVehicleWheel components and rename the according their position:
 Go to the Details panel and set appropriate Bone Name and Wheel Index 4WD for each wheel:

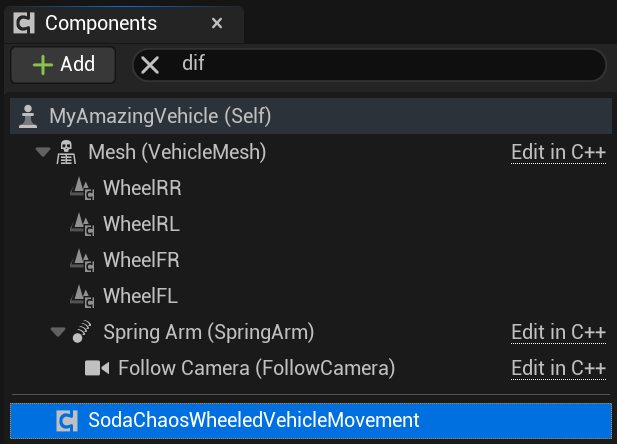
In the Components window add SodaChaosWheeledVehicleMovement component:
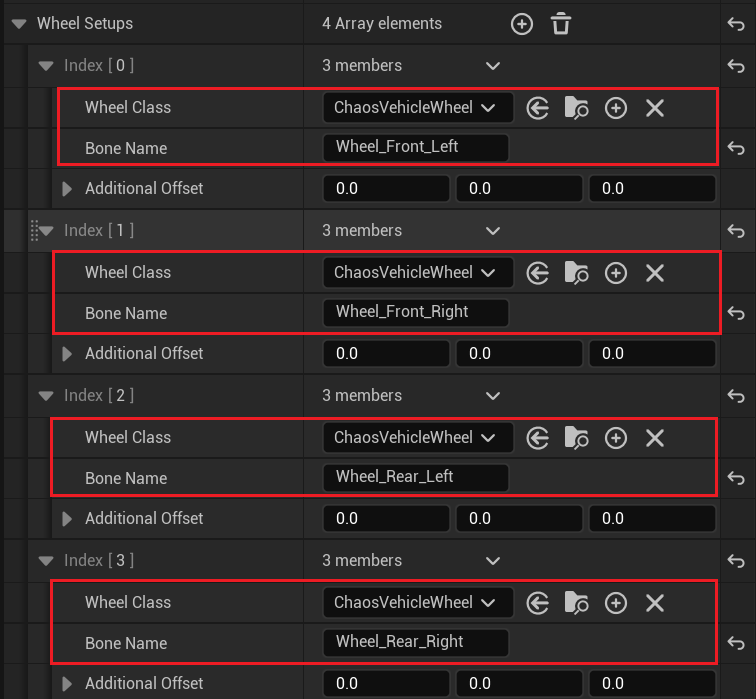
Go to the Details panel and scroll to the Vehicle Setup section. Expand the arrow next to Wheel Setups and set the following for each wheel:
Set the Wheel Class (optional) to the Wheel Blueprint(s) you created.
Set the Bone Name to the name of the joint that should be controlled by the wheel.
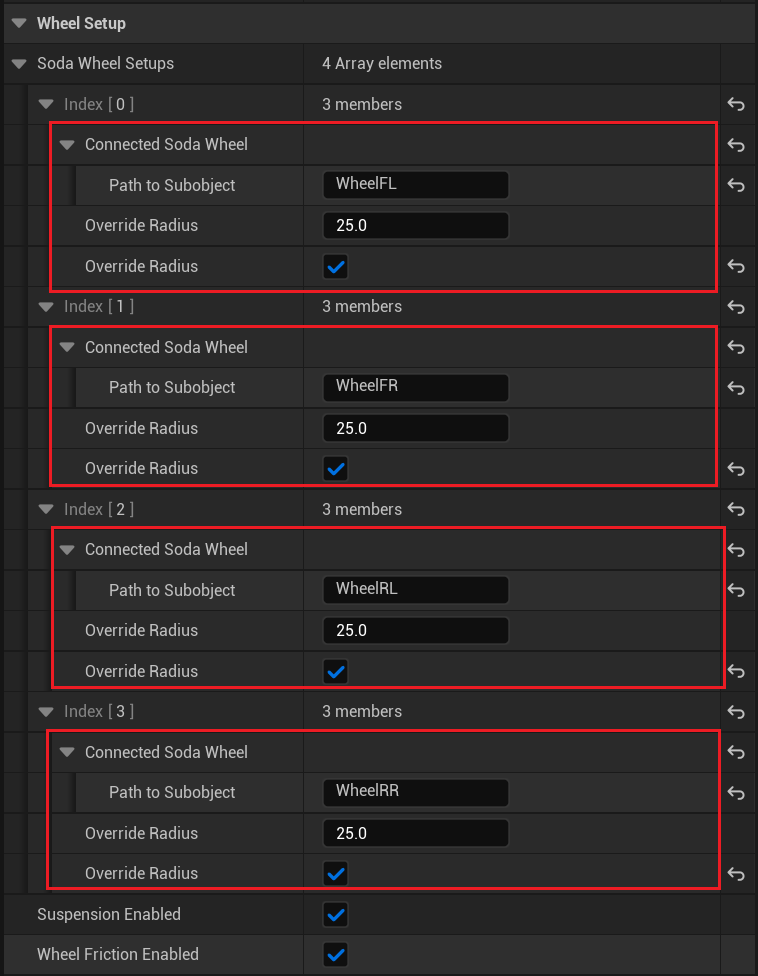
Go to the Details panel and scroll to the Vehicle Setup section. Expand the arrow next to Soda Wheel Setups and set the following for each wheel:
Connected Soda Wheel - name of earlier created corresponding component Soda Vehicle Wheel.
Override Radius (Optional) - wheel radius (overrides default value).
Add the newly created blueprint vehicle to any Soda Actors Library (see Create Blueprint Soda Actor ). If you will use newly created blueprint only in Unreal Engine editor (not in Soda Editor Mode), you may omit this step.
After that you have two options:
Add necessary components inside the newly created Blueprint - follow this way if you need to create a basic configuration, which will rarely (or even never) will be changed;
Add necessary components inside SODA editor - follow this way if you want to allow your users to change (add, edit and remove) components.
Additionally, first option can be more appropriate for advanced Unreal Engine developers.
3.4.3. Create full configuration
3.4.3.1. Create full Soda Vehicle configuration in Blueprint
Add the following components using Unreal Engine Editor:
In the Components window add VehicleDifferentialSimple, VehicleGearBoxSimple, VehicleEngineSimple, VehicleSteeringRackSimple, VehicleBrakeSystemSimple and VehicleInputKeyboard components and rename them to shorter names:
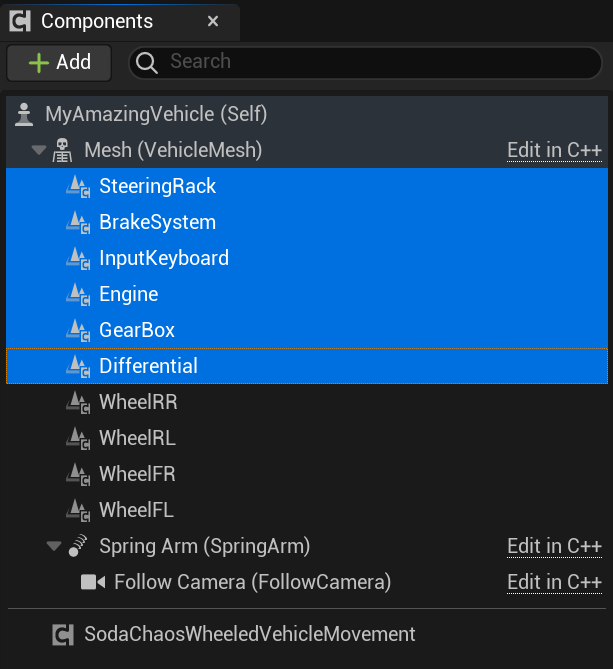
Choose VehicleDifferentialSimple, go to the Details pane and configure Differential Type and Ratio

Choose VehicleGearBoxSimple, go to the Details pane and configure Link to Torque Transmission (name of corresponding component), and base Gear Box category parameters
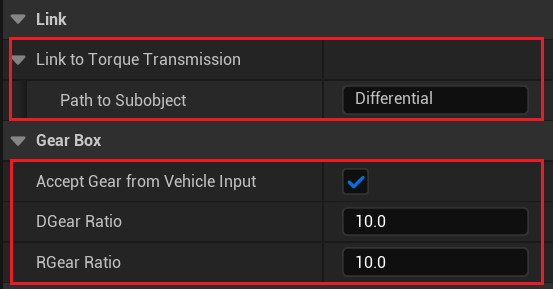
Choose VehicleEngineSimple, go to the Details pane and configure Link to Torque Transmission (name of corresponding component), and base Engine category parameters
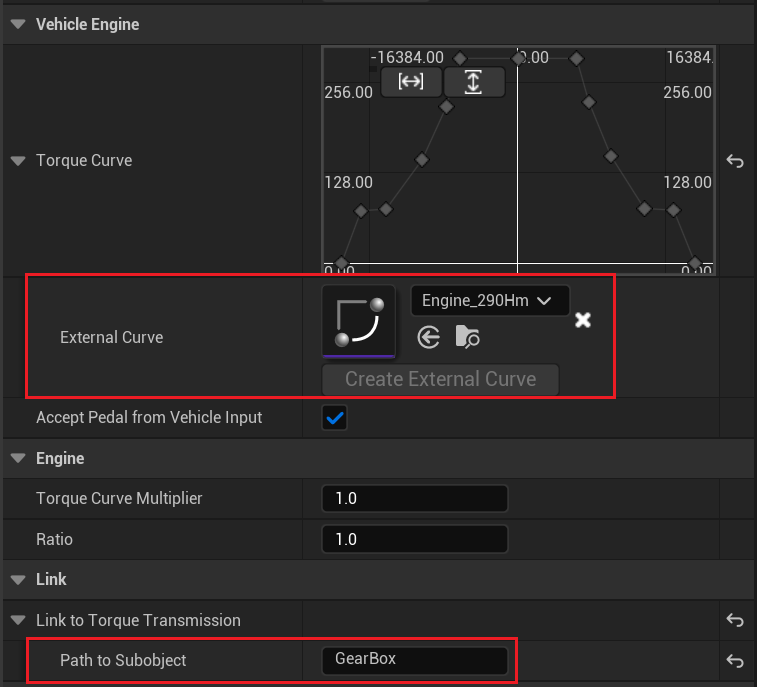
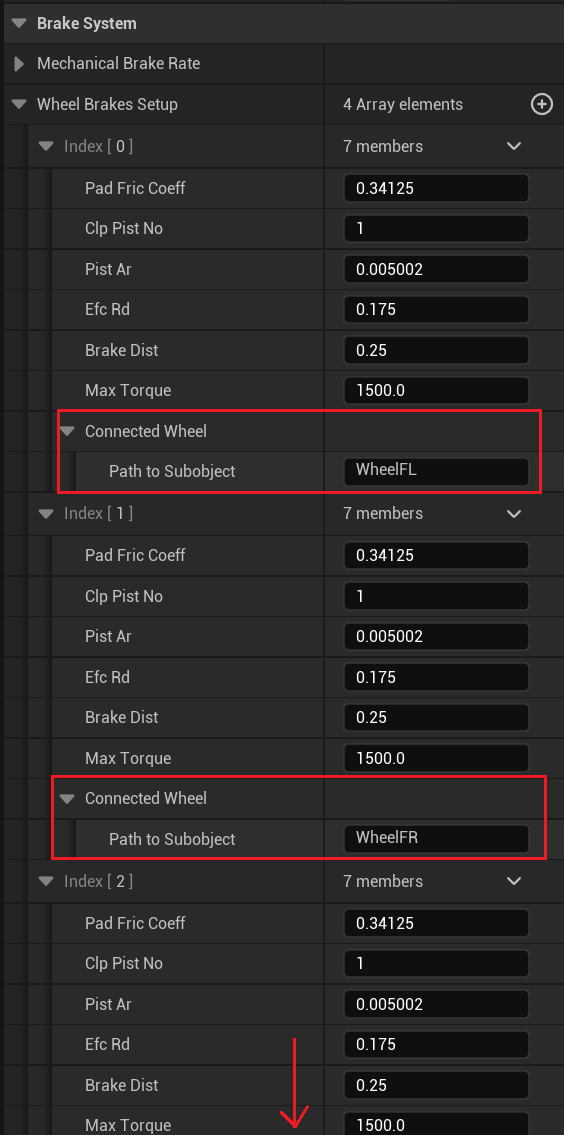
Choose VehicleBrakeSystemSimple, go to the Details pane and configure Wheel Brake Setup for each wheel
3.4.3.2. Create full Soda Vehicle configuration in Soda Editor Mode
More detailed version of this section can be found in Quick Start
The following sequence can be executed both in the Soda Editor within the Unreal Engine Editor and in the Soda Editor as an standalone application.
Note: Take caution while working inside the Unreal Engine Editor, as every Stop/Run project command will undo all the changes made! To safeguard your progress, utilize the built-in Soda Editor functionality. Refer to the User’s Guide for more details.
The configuration process mirrors the steps found in Create full Soda Vehicle configuration in Blueprint, albeit with slight differences in the user interface.
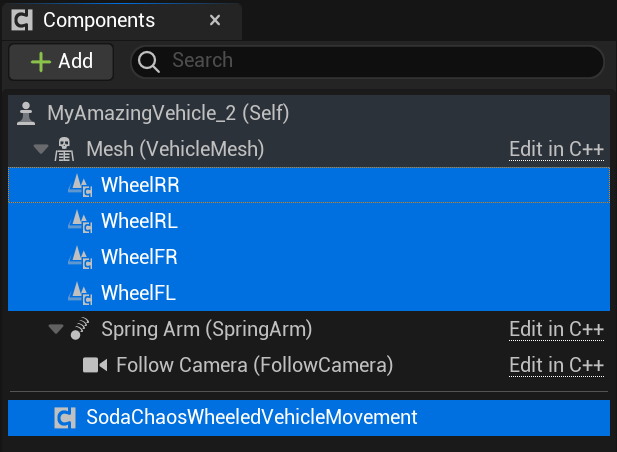
Ensure that you already have basic vehicle configuration, which includes SodaChaosWheeledVehicleMovement and 4 SodaVehicleWheel components (if not, consider section Creating a minimum viable Soda Vehicle Blueprint):
Position the vehicle on the map:
If you have crafted a blueprint vehicle for any Soda Actors Library, toggle to the Soda Editor Mode and drag and drop vehicle from Add Actor Menu
Alternatively, int the Unreal Engine Editor drag and drop it from the Content Browser, press play game, and then switch to the Soda Editor Mode
Open the Vehicle Components Menu:
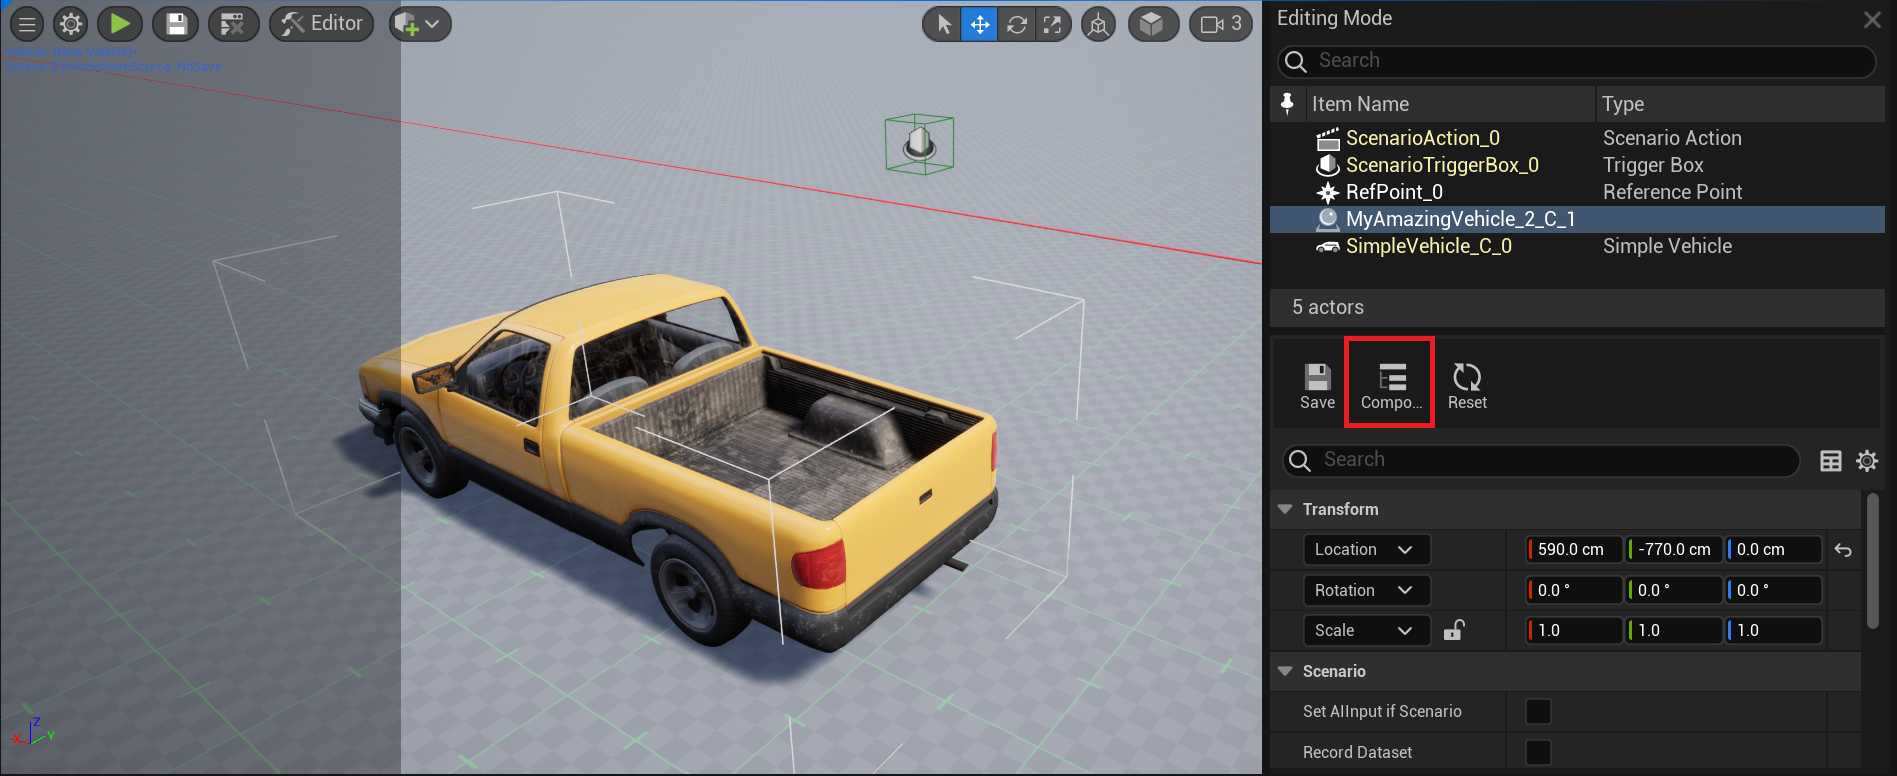
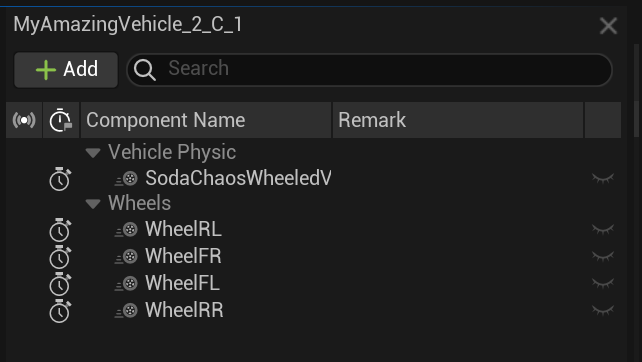
In the Components window add Differential Simple (VehicleDifferentialSimple), Gear Box Simple (VehicleGearBoxSimple), Engine Simple (VehicleEngineSimple), Steering Rack Simple (VehicleSteeringRackSimple) and Keyboard (VehicleInputKeyboard) components and rename them to shorter names:

Follow steps 2-5 from section Create full Soda Vehicle configuration in Blueprint. Configuration process is the same, but parameters list may be slightly different.
3.4.4. Start Simulation
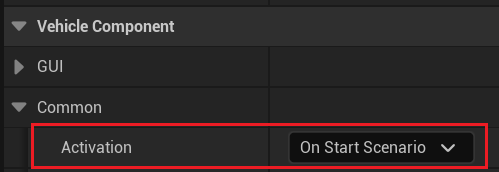
Ensure that all components are set to OnStartScenario activation mode (see User’s Guide for details)
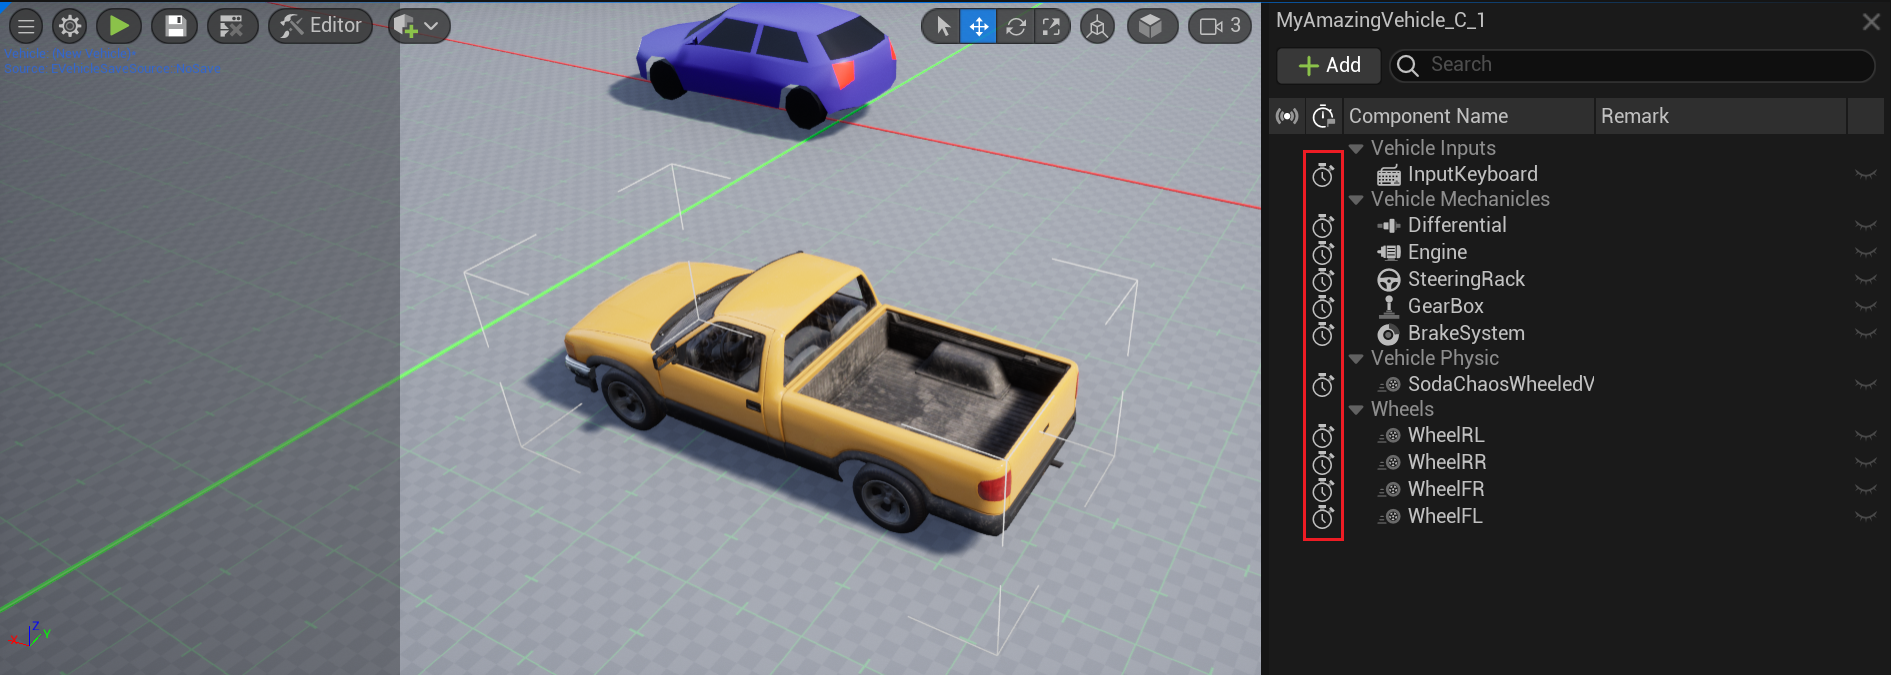
Click Play button

Enjoy!
