3.1. Quick Start
Welcome to your introduction to using the SODA.Sim! To get a grasp of its essential features, we highly recommend following these initial steps. This guide will walk you through creating a simple yet functional scenario, showcasing the main features of SODA.Sim in the process.
Launch the application. You can download demo
Load the map Game/OpenDrive/M1/M1 (see also Main Menu):

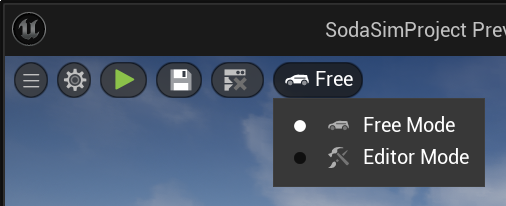
Switch to the Editor mode
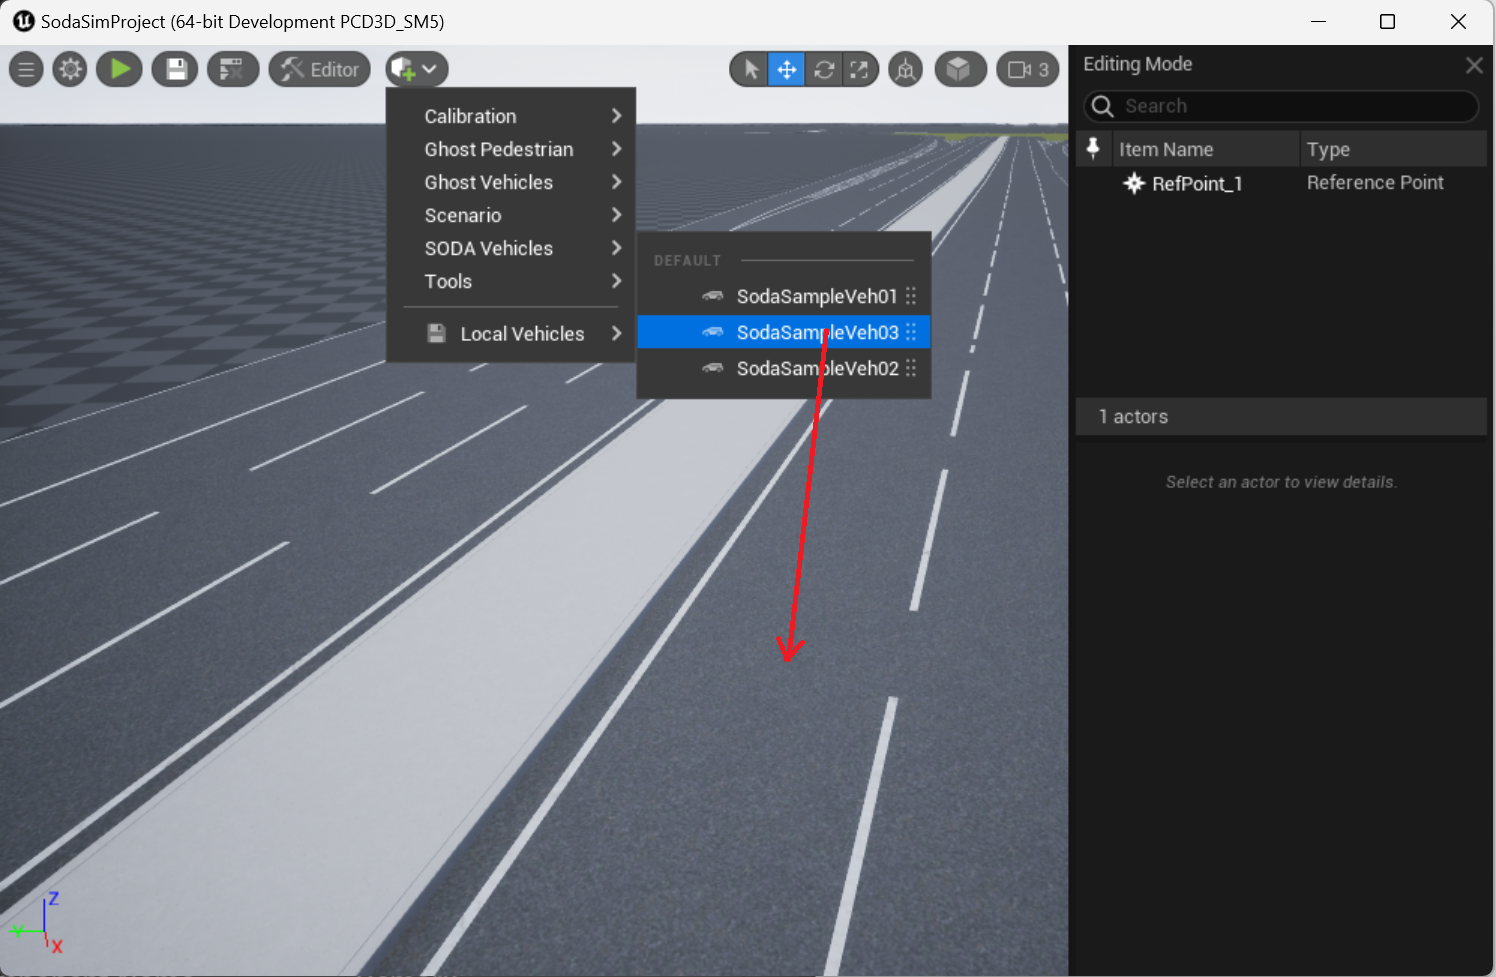
Open Add Actor Menu and add a ‘SODA Vehicle → SodaSampleVeh03’ by dragging it from the menu to the desired position on the map.
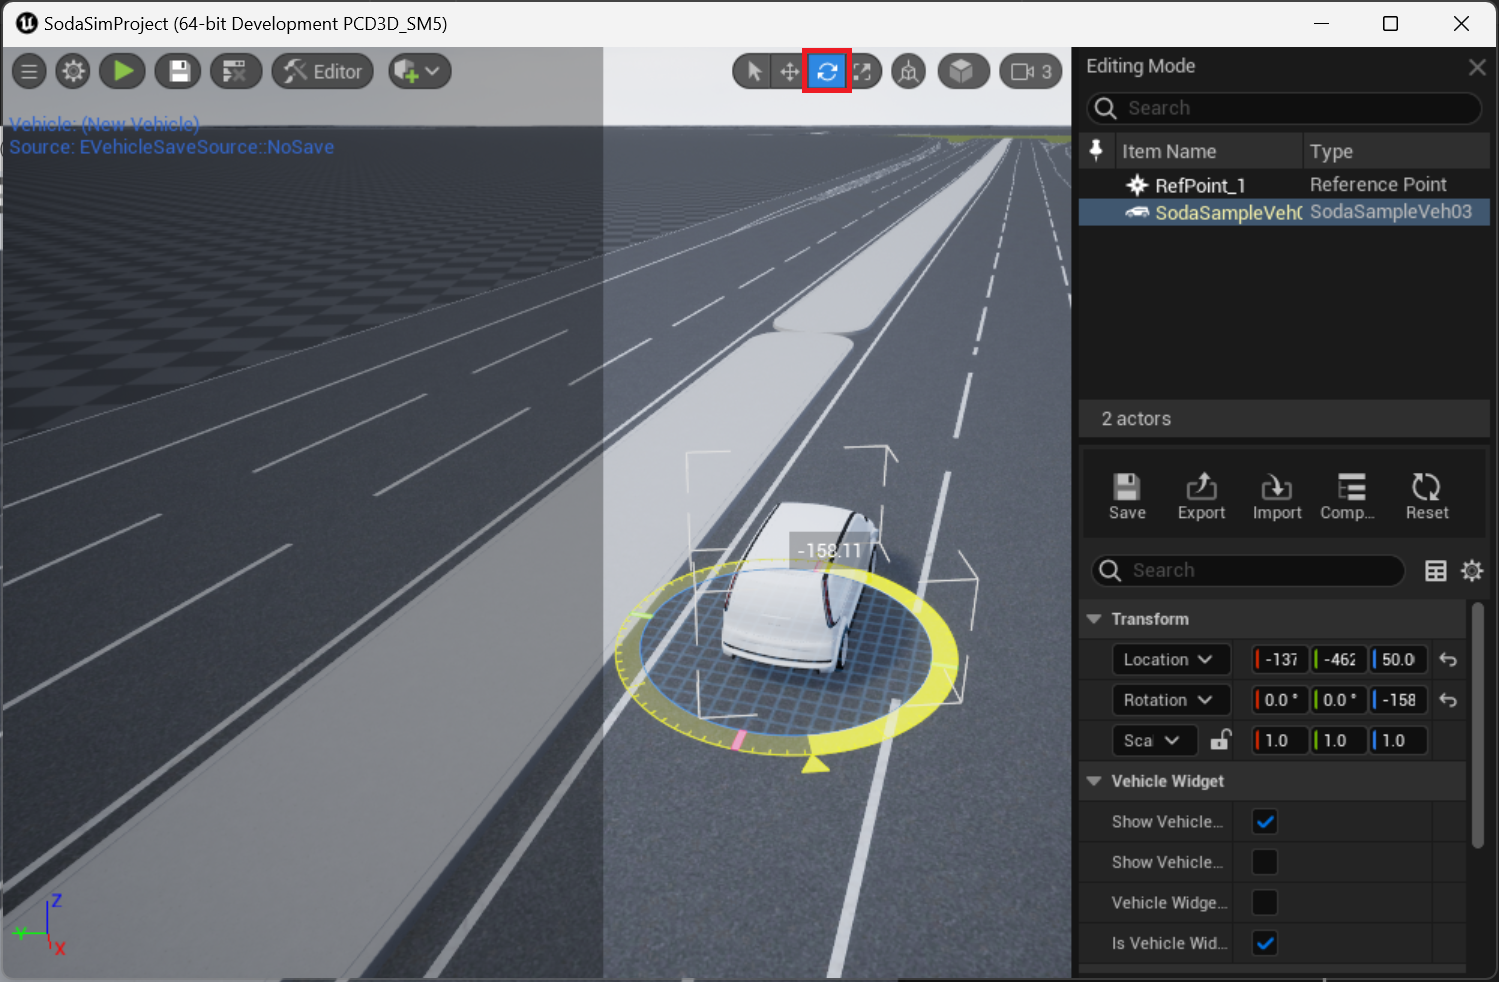
Select the newly added vehicle with a left mouse click and rotate it to align its orientation:
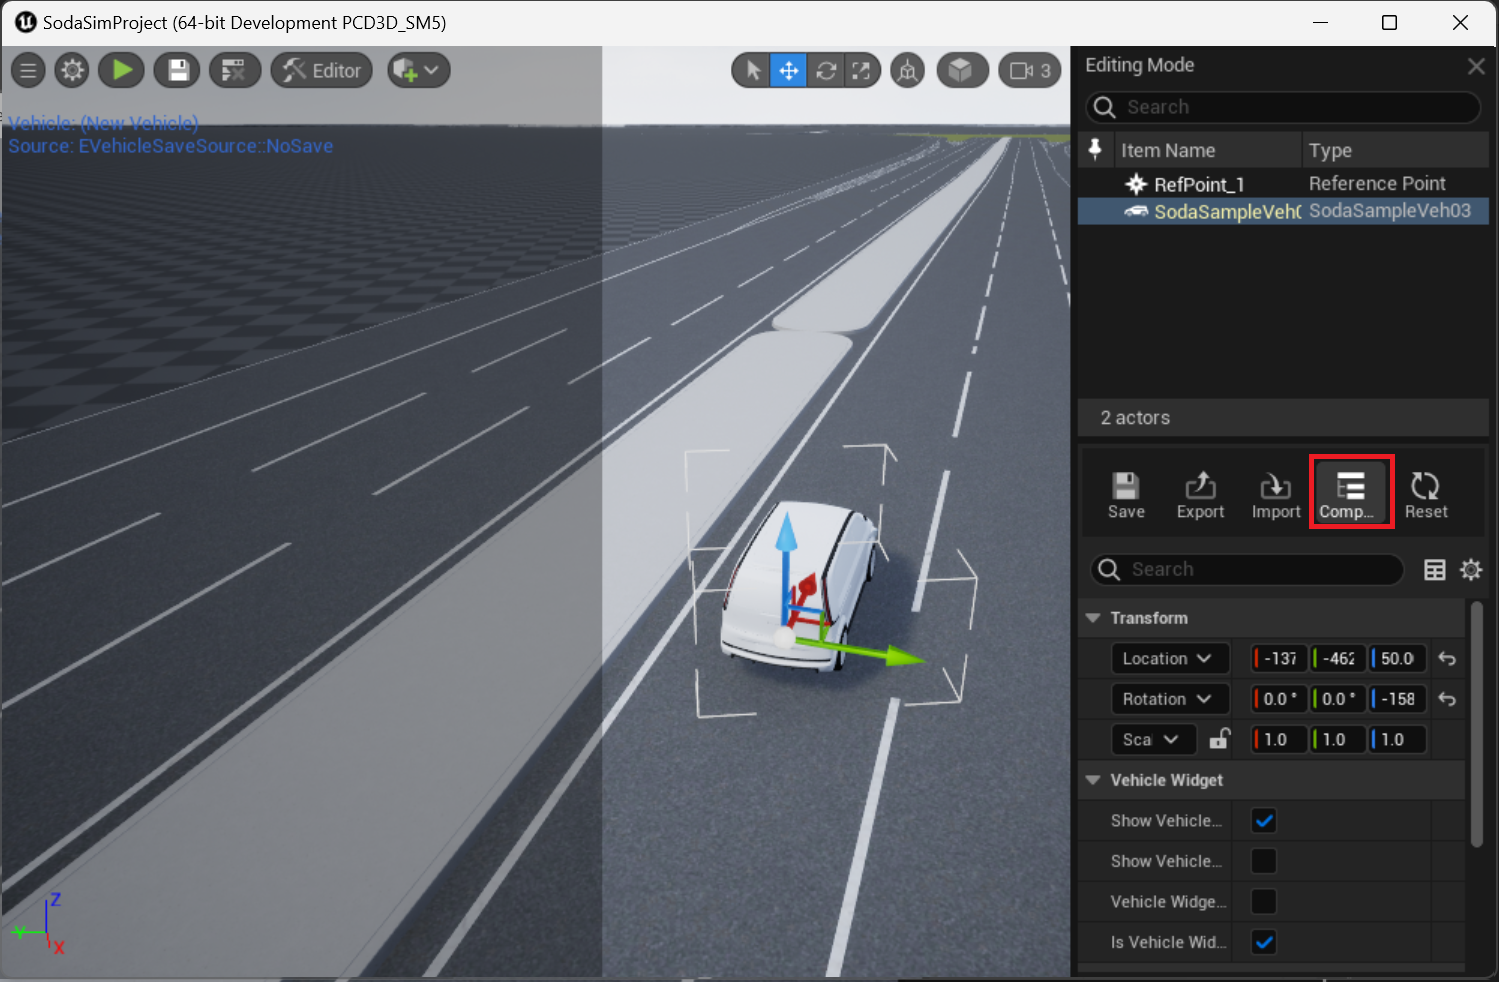
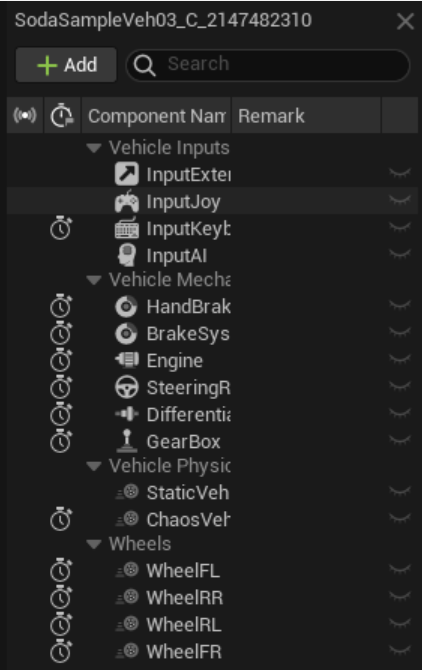
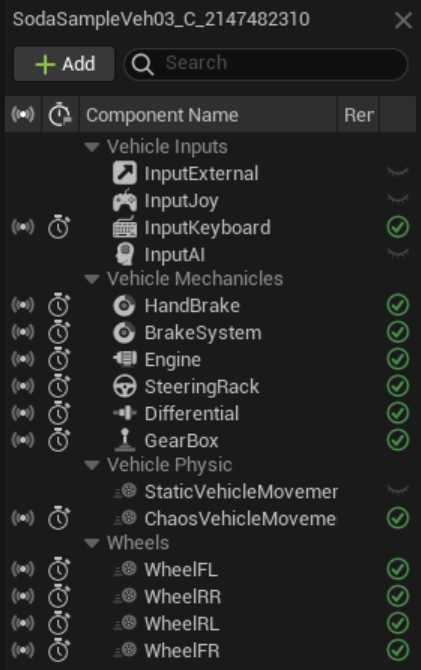
Open the components panel by clicking the Components button. This will take you to the Vehicle Components Menu:
optionalConfigure the VehicleDifferentialSimple by double-clicking on it and setting up the Differential Type and Ratio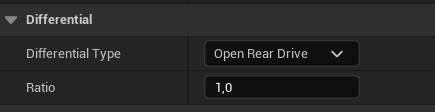
optionalSimilarly, double-click on VehicleGearBoxSimple and set up the Link to Torque Transmission (indicate the name of the corresponding component), along with the primary Gear Box category parameters.
optionalConfigure VehicleEngineSimple by double-clicking and setting up the Link to Torque Transmission (mention the name of the corresponding component), and the basic Engine category parameters.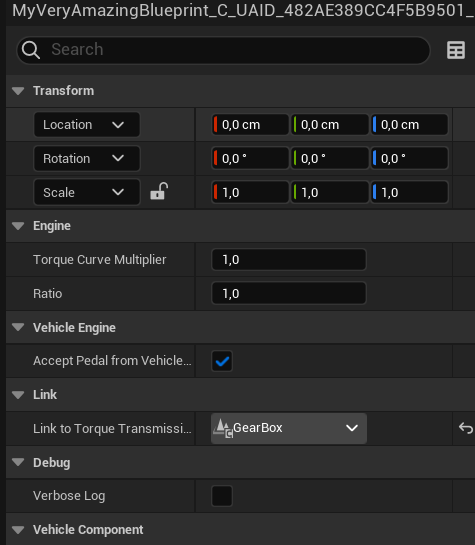
optionalDouble-click on VehicleBrakeSystemSimple and set up the Wheel Brake Setup for each wheel.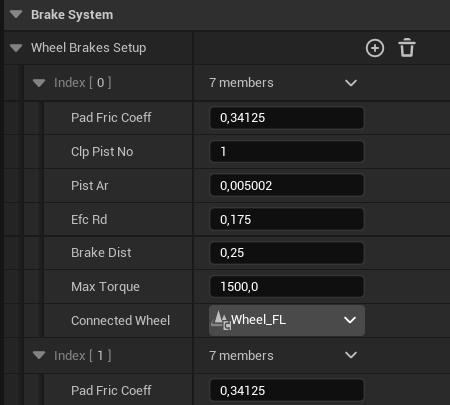
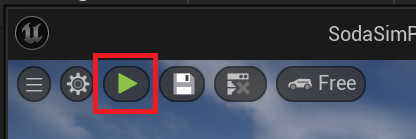
Press the ‘Play Scenario’ button:
Make sure all required components are activated:
Now, try maneuvering the vehicle using the following Keyboard Control:
Press ‘X’ to select the vehicle;
Use ‘W’, ‘A’, ‘S’, ‘D’ to move the vehicle.